Brief / Overview
I was tasked with creating a Capture the Flag (CTF) map using the open source game engine Tesseract, for a University brief. This project was completed to a high standard within 6 weeks. I had to engage in extensive documentation, concept sketches, modelling, playtesting and iteration.
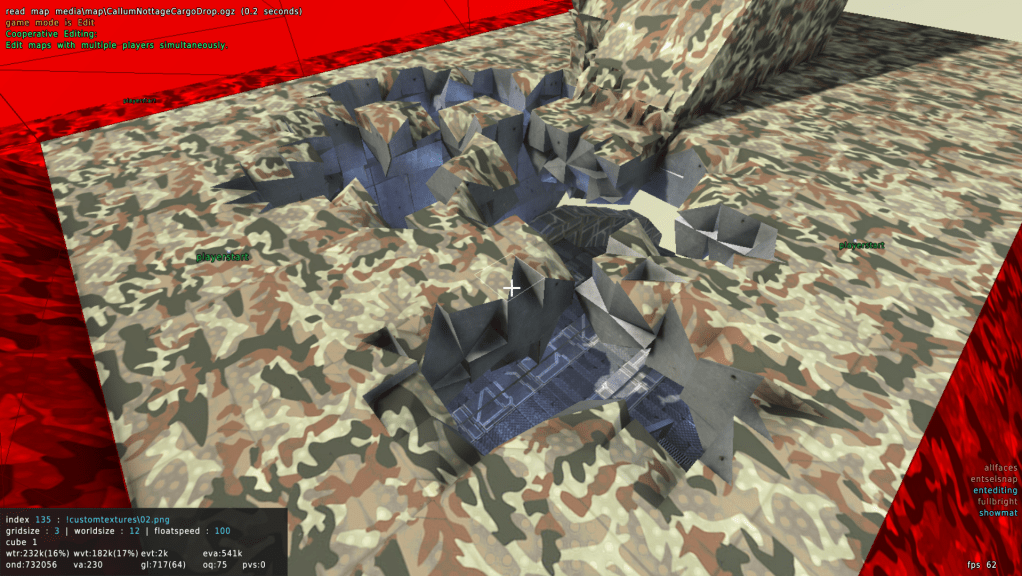
The level I chose to create was set on a plane mid flight, where one team has breached the hull and the other team is defending important files, until the inevitable crash…
Due to the limitations of the Tesseract Engine, I couldn’t emulate a crash or any particular objectives, so the actual gameplay is more of a traditional CTF experience.
Main Learning Outcomes
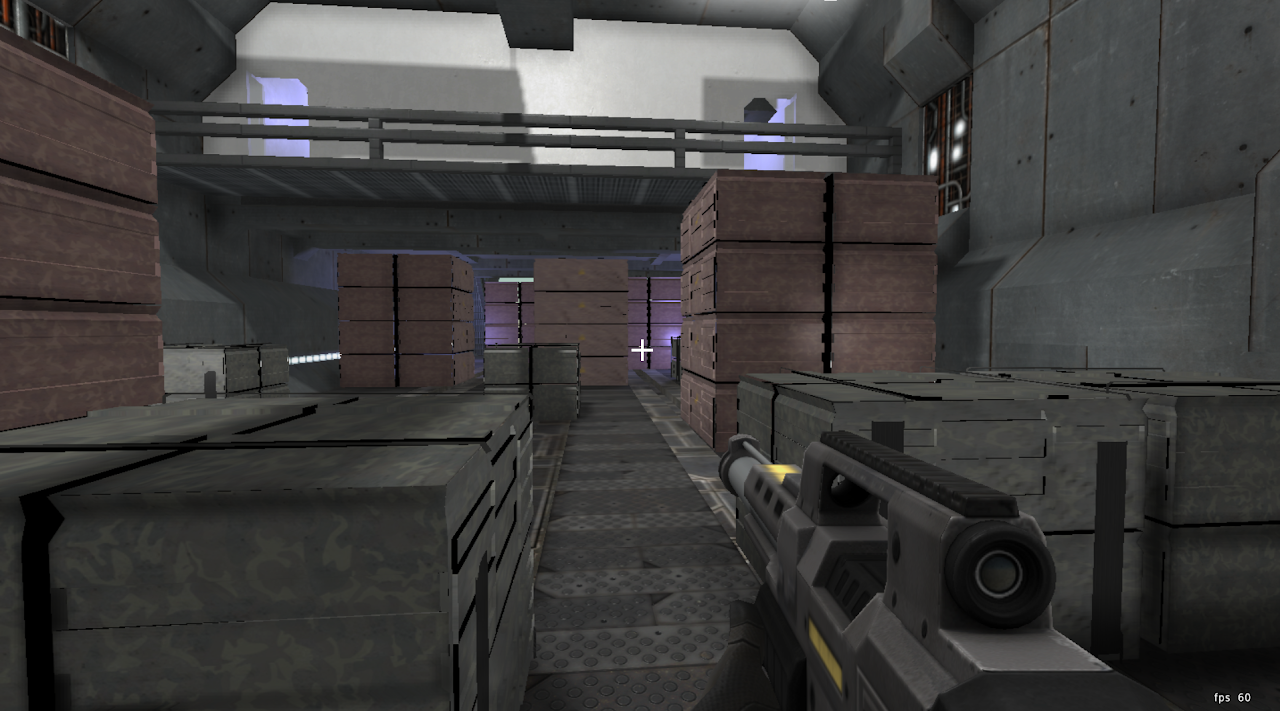
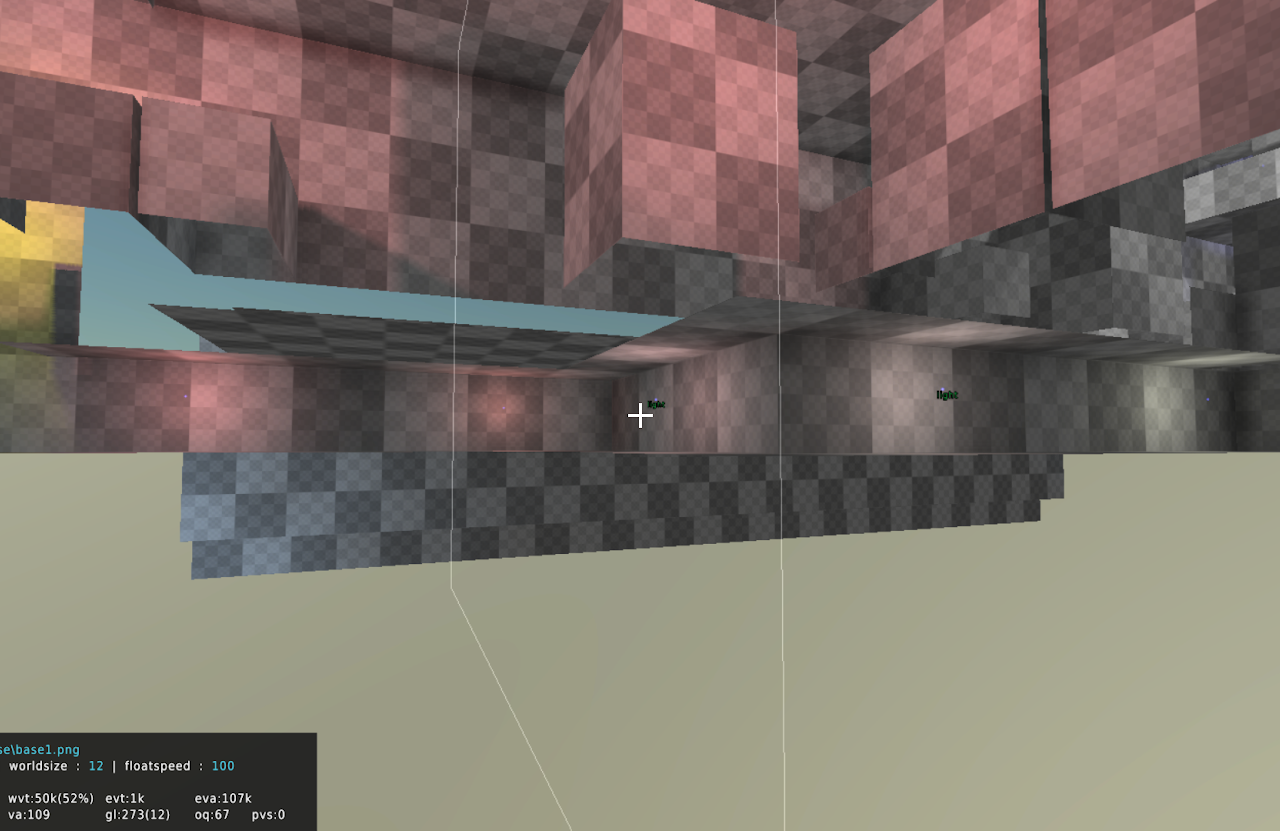
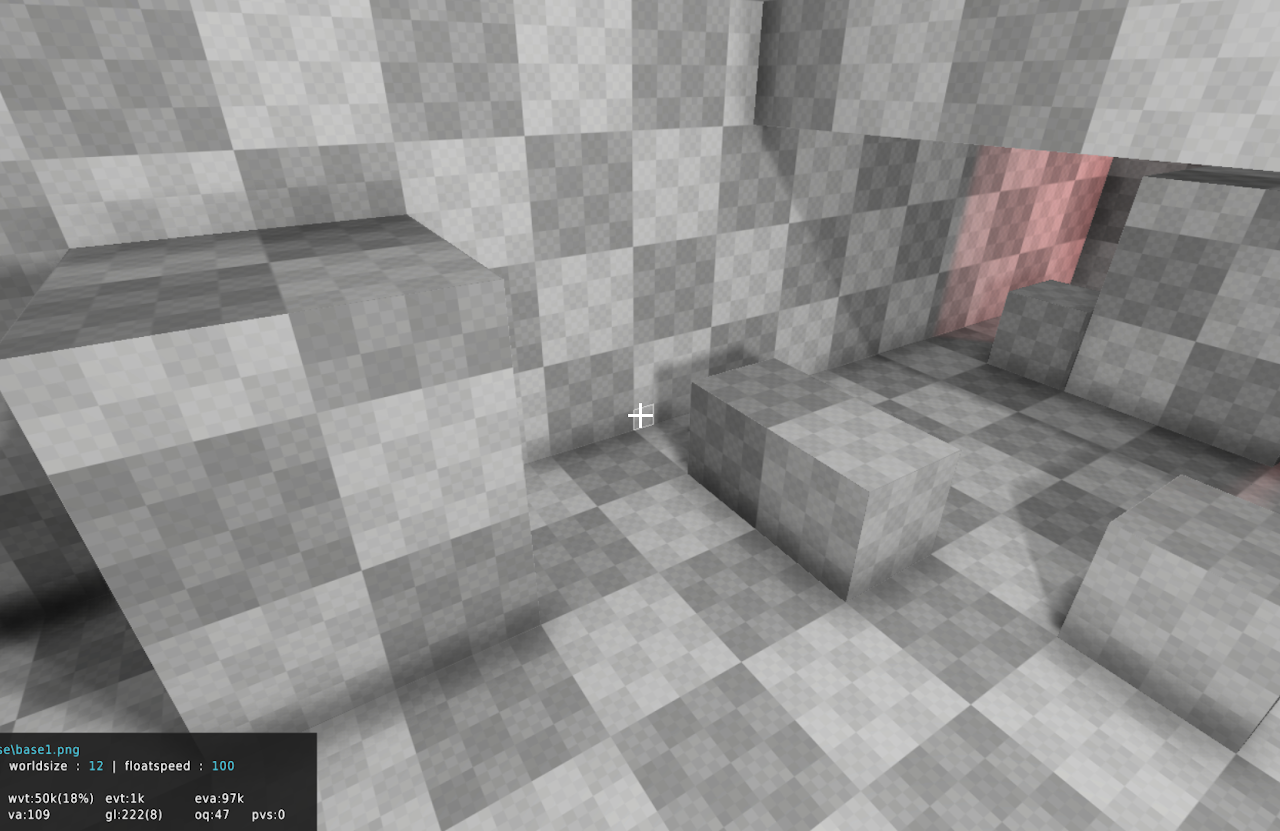
Greyboxing
Greyboxing is one of the most important steps in the development cycle, as it allows you to test level flow and functionality before polishing sections that may be cut. By using placeholder assets or simple geometry, you can quickly set up the concept and ultimately save time if aspects need to change.
I found this to be useful while developing my level, as testing revealed map imbalances that favoured one team over the other. Some imbalances included spawn camping and unfair sight-lines favouring red team. For a more in-depth breakdown, refer to the reflection video found at the end.


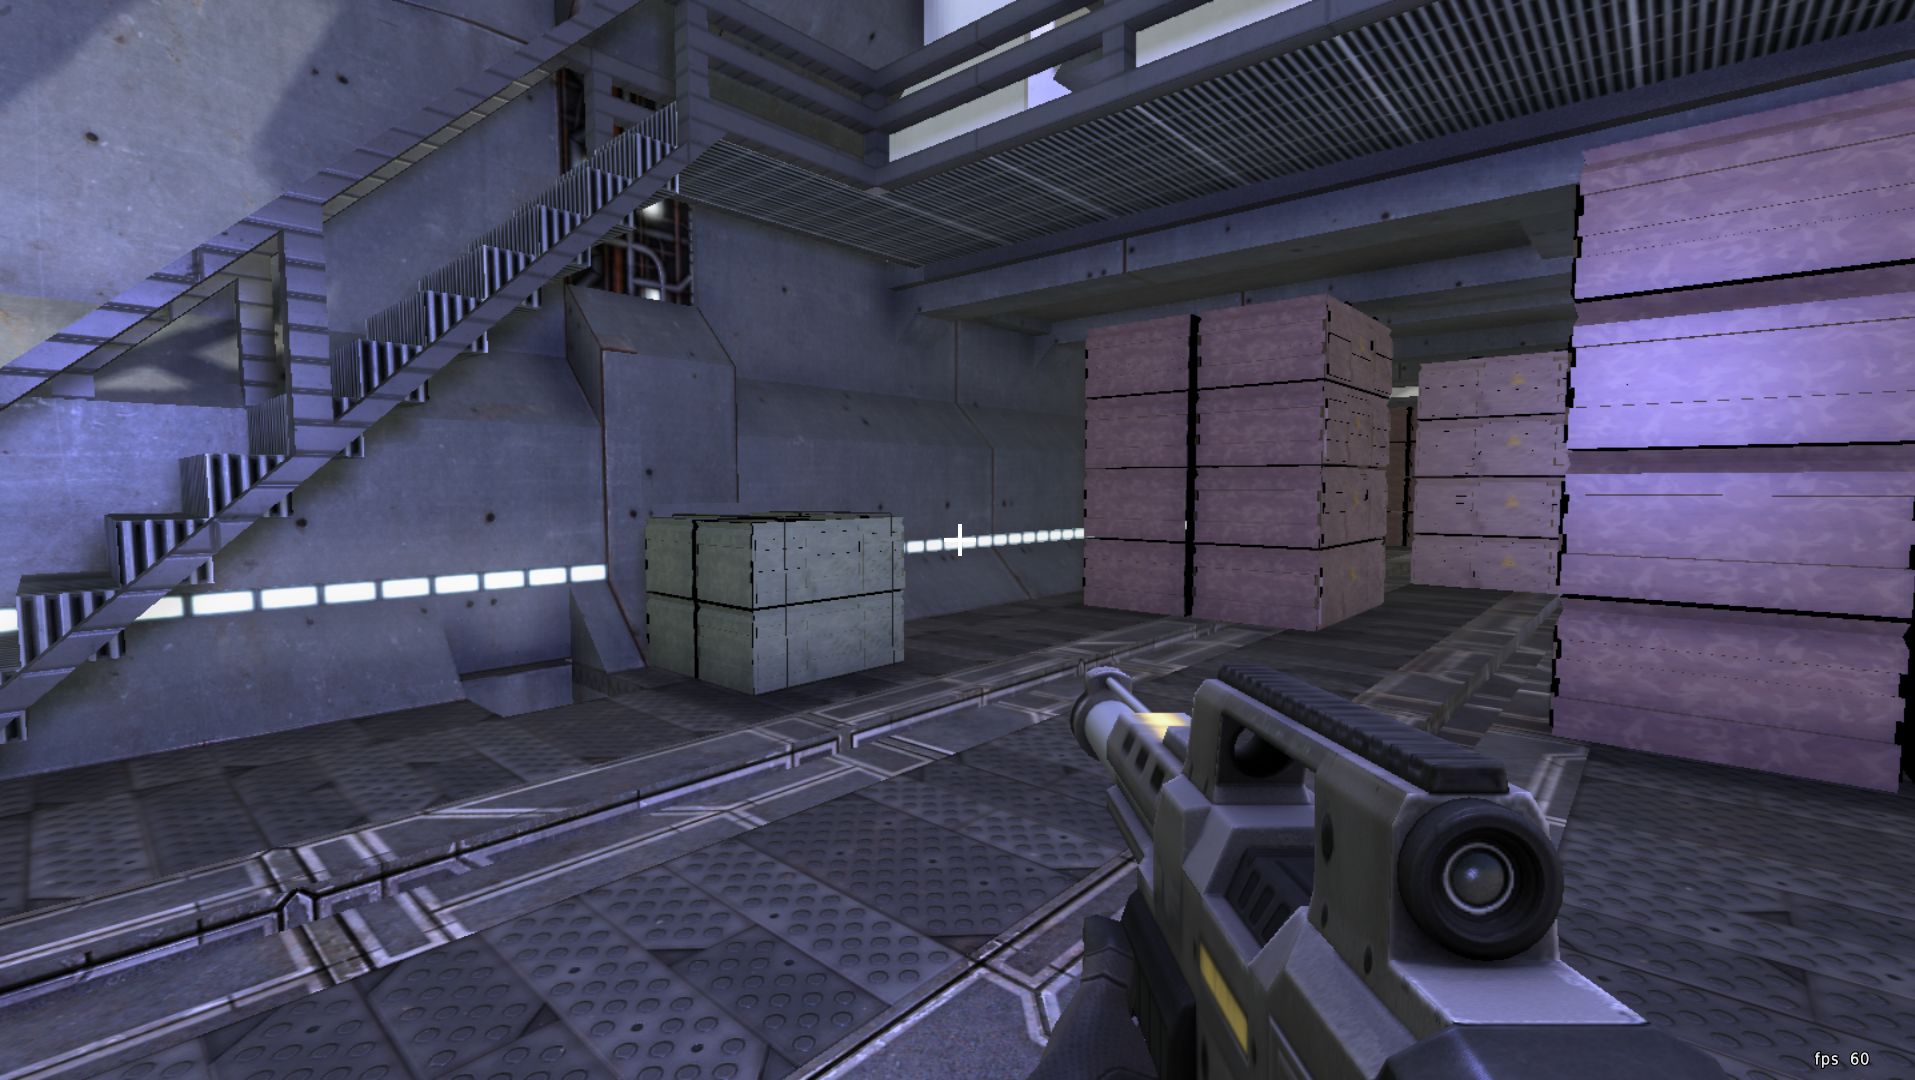
Importance of Lighting
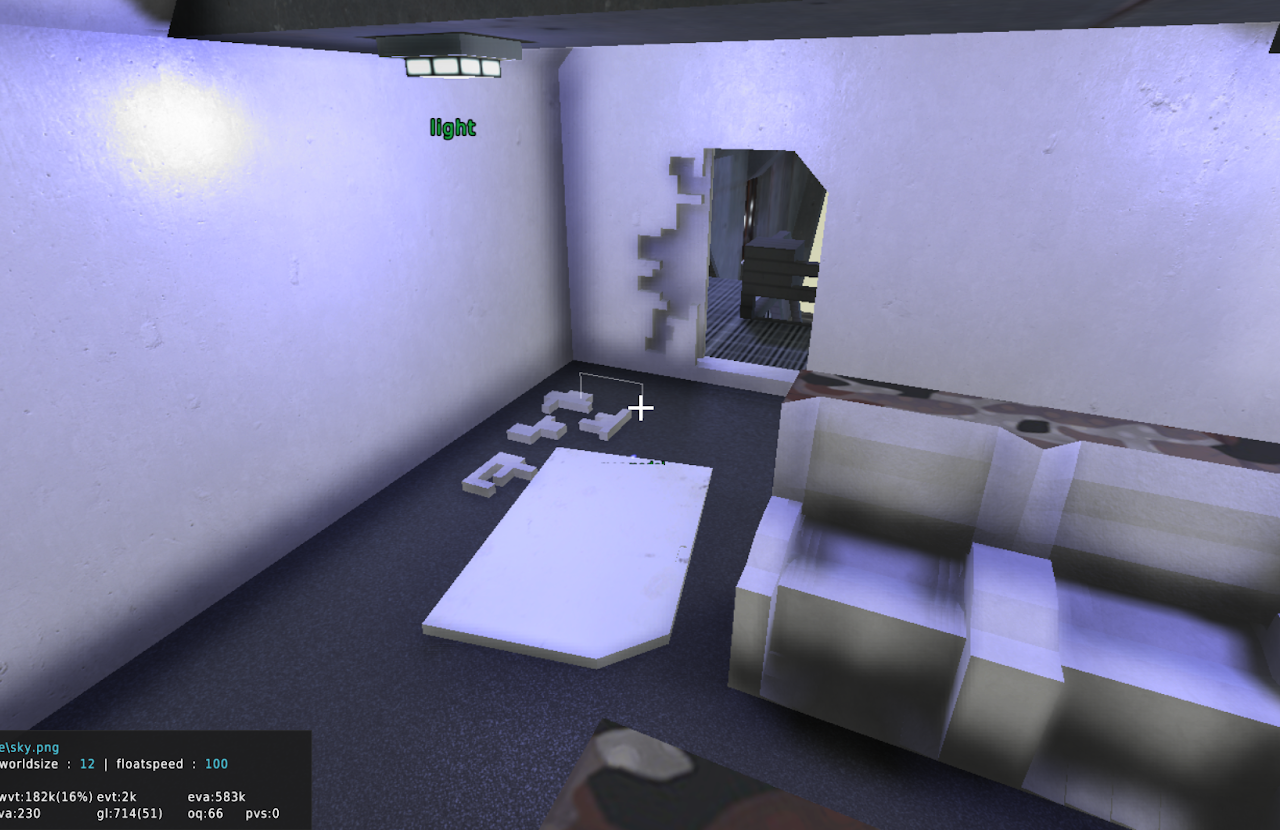
Lighting can add a lot to the scene and I found that it is important to place them in logical places. In the below image comparison, you can see the difference between one large light source and a handful of purposefully placed light’s.
It’s a subtle change overall, however, it adds much more depth and realism to the level. It allows for shadow casting that closer emulates real life, helping the player immerse more in the environment. If the light sources are placed with no purpose it will be noticed by the player, potentially taking them out of the experience.
Lights can also be used as a level design tool. By making lights vary in brightness, colour and placement, they can potentially be used as guides. Lighting areas of interest can lead the player off the beaten path to allow for exploration, or even as the main source of level progression and guidance. You can see how I have incorporated this theory in the below ‘after’ image, highlighting an underground passage.

Environmental Story Telling
Through directed learning, I had applied environmental story telling within the level in the form of destruction. In the screenshots below you can see the forced entry into the level, which shows that one team is breaching the plane.
Environmental story telling can come in many forms, from decal’s of bullet holes resembling a past fire fight, to a scrape on the ground to signify the frequent movement of furniture. Understanding this is important as I can add visual interest to level’s that allows the player to immerse themselves in the environment as they piece together past events that could have happened.
I can also use this technique to potentially show the player game mechanics without using a tutorial pop-up screen. While I could not do this due to the limitations of the Tesseract engine, an example can be used to explain my understanding. Picture a narrow hallway in an old abandoned mansion, the player is walking forward noticing a large crack in the wooden floor ahead. Suddenly a raccoon skitters past them and the floor collapses. In this scenario, the player now knows that some areas are unstable and they should look out for large cracks, finding alternative routes when necessary.